
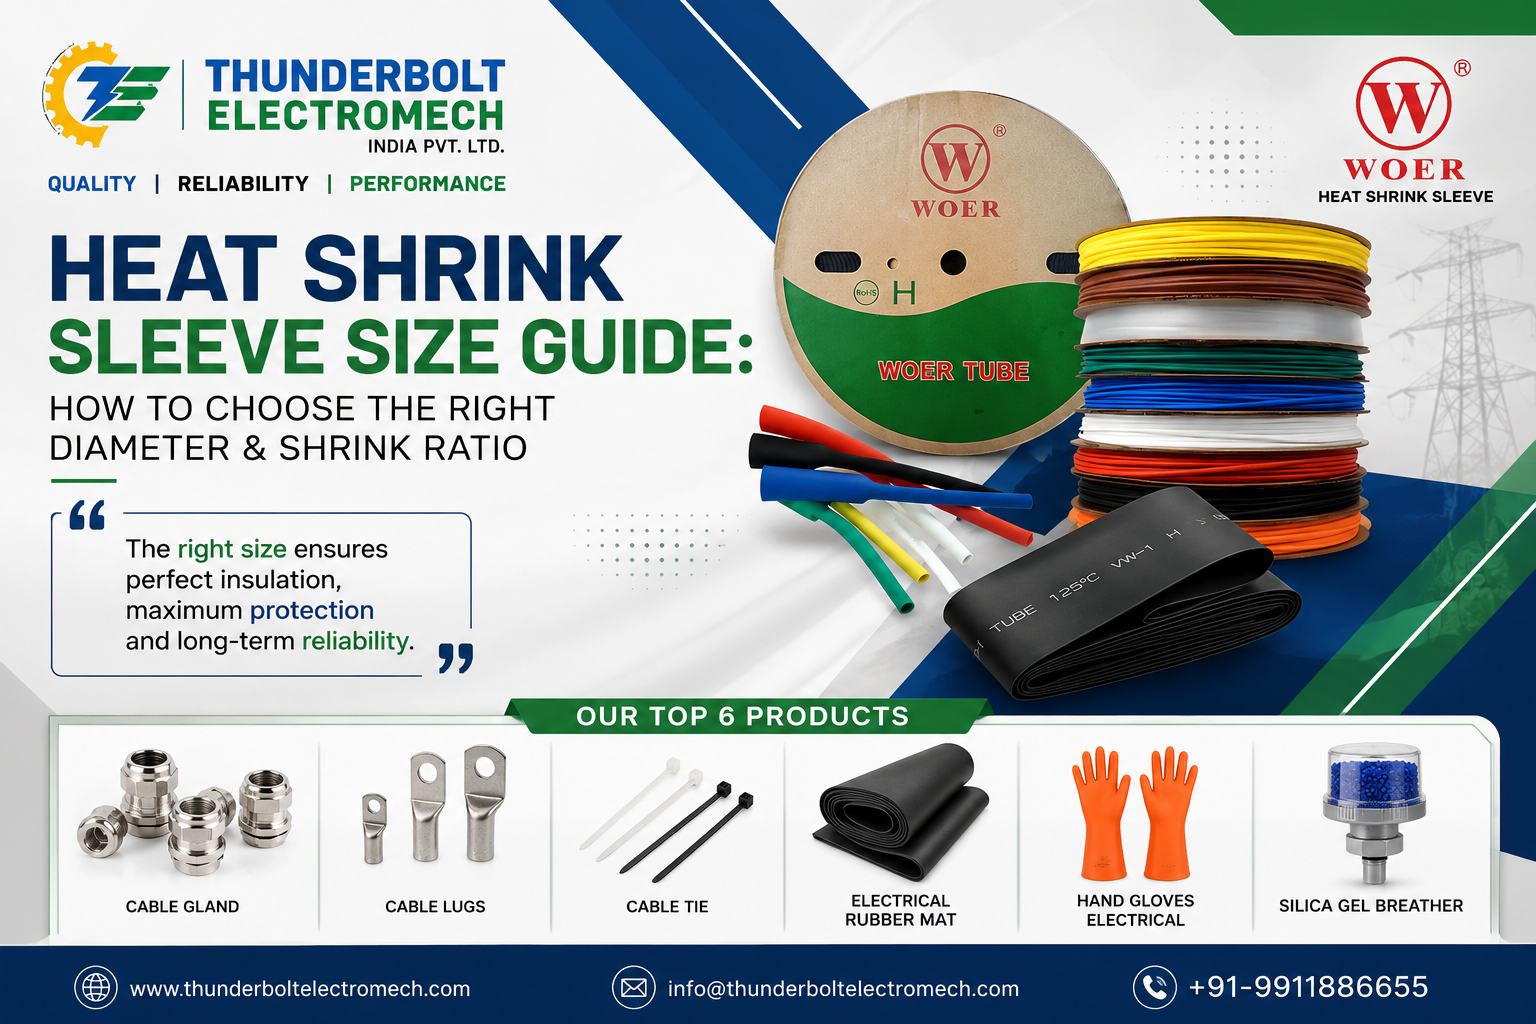
By Thunderbolt Electromech India Pvt. Ltd. — Delhi-based Heat Shrink Sleeve Supplier and Distributor of Woer Heat Shrink Sleeve
📞 +91-9911886655 | ✉️ info@thunderboltelectromech.com | 🌐 thunderboltelectromech.com | 📍 Shop No. 3538, Sitaram Bazar Rd, Bazar Sirkiwalan, Chawri Bazar, Chandni Chowk, Delhi – 110006
Quick Answer: Pick a heat shrink sleeve whose expanded (supplied) diameter is roughly 20-30% larger than the widest part of what it’s covering — the cable, joint, or connector — and whose recovered (fully shrunk) diameter is smaller than the item’s diameter, so it grips tight once heated. Most electrical heat shrink sleeves work on a 2:1 shrink ratio (they shrink to half their supplied size) or a 3:1 shrink ratio (down to a third), and the ratio printed on the pack tells you the largest and smallest diameter that one sleeve size can handle. Measure the cable or joint with vernier calipers, add clearance for insulation build-up at splices, and always check both numbers — expanded and recovered — before ordering, not just the diameter marked on the box.
Introduction
A heat shrink sleeve that’s the wrong size doesn’t fail loudly. It fails quietly — a joint that looks sealed on installation day but let’s moisture creep in eighteen months later, or a sleeve that never fully grips the cable and leaves a gap where corrosion starts. Sizing mistakes on heat shrink sleeves are one of the most common, least-discussed causes of cable joint failure in Indian industrial and utility work, and they almost never trace back to bad material. They trace back to someone picking a diameter off a shelf without checking the ratio printed on the pack.
This guide walks through exactly how heat shrink sleeve sizing works — expanded diameter, recovered diameter, shrink ratio, clearance, and the calculations behind each — using real specifications from WOER heat shrink sleeves, the range Thunderbolt Electromech India Pvt. Ltd. stocks and supplies across Delhi NCR and pan-India. If you’ve ever wondered why a “correctly sized” sleeve still split during shrinking, or why two sleeves marked the same diameter behave completely differently once heated, the answer is almost always buried in the numbers this guide explains.
What Does Heat Shrink Sleeve Size Mean?
“Size” on a heat shrink sleeve pack is never a single number — it’s a pair, and reading only one half of that pair is where most sizing mistakes start.
Every heat shrink sleeve is manufactured at a wide diameter, then heated during production and allowed to cool in that expanded state. That expanded diameter is what you buy and what you slide over the cable. When you apply heat on site, the material tries to return to its original, narrower molecular structure — the diameter it had before the manufacturing process stretched it open. That narrower, “remembered” diameter is the recovered diameter.
So when a WOER Heat Shrink Sleeve is listed as 6mm, that figure typically refers to the expanded (as-supplied) inside diameter — the size you need before shrinking, not after. The actual recovered diameter, the size it settles at once fully heated, is roughly half that figure on a standard 2:1 ratio sleeve. This is the single most misunderstood point in heat shrink tubing selection, and it’s worth re-reading before moving to the next section, because every calculation later in this guide depends on getting this distinction right.
Expanded Diameter vs Recovered Diameter
Think of expanded and recovered diameter as the two ends of a size range the sleeve can cover — not two separate specs to choose between.
Expanded diameter is the maximum diameter the sleeve can slide over. This must always be larger than the largest point it needs to pass over — a connector lug, a splice with extra tape build-up, a cable gland body. If the expanded diameter is too tight, the sleeve simply won’t slide on, or it’ll stretch and thin out unevenly trying to fit.
Recovered diameter is the minimum diameter the sleeve shrinks down to. This must be smaller than the diameter of the surface it’s meant to grip — otherwise the sleeve shrinks fully and still leaves a loose, ungripped section, which defeats the entire purpose of using heat shrink in the first place.
A properly selected electrical heat shrink sleeve satisfies both conditions at once: expanded diameter bigger than the widest point you’re covering, recovered diameter smaller than the narrowest point you need to seal. Most manufacturers, including WOER, publish both figures on the technical datasheet — and a WOER 6mm sleeve carries a radial shrinking ratio of ≥50%, meaning it recovers to roughly half its supplied diameter once fully heated (Source: WOER Heat Shrink Sleeve 6mm datasheet, thunderboltelectromech.com — Direct source found).
How to Measure Cable Diameter
Heat shrink sleeve size selection starts and ends with an accurate measurement — and “eyeballing it” is where most on-site sizing errors begin.
Step 1 — Measure the largest cross-section, not the average.
A cable joint is rarely a uniform cylinder. Where two conductors are twisted, soldered, or crimped together, the diameter at that point is almost always larger than the cable’s own diameter. Measure at the widest point of the finished joint, including any solder blob, crimp barrel, or tape wrap — not the bare cable a metre away from the splice.
Step 2 — Use vernier calipers, not a measuring tape.
A flexible tape measure wrapped around a cable gives you circumference, and converting that to diameter by hand introduces rounding errors that compound at small sizes. Calipers give a direct diameter reading, accurate to a tenth of a millimetre — the kind of precision that matters when you’re comparing a 6mm sleeve against a 10mm one.
Step 3 — Measure in at least two places and take the larger reading.
Cable insulation isn’t perfectly round, especially after crimping or stripping. Two measurements at right angles to each other, on the same cross-section, catch this variation.
Step 4 — Note whether you’re measuring a single core or a bundled/multi-core joint.
Heat shrink sleeve for cable joint applications often needs to cover multiple conductors bundled together at a splice, which means the effective diameter at that point can be significantly larger than any single conductor’s diameter. Measure the bundle as installed, not the individual wires before joining.
Once you have an accurate diameter at the widest point of application, you’re ready to match it against a sleeve’s expanded and recovered range — which is where the shrink ratio comes in.
2:1 vs 3:1 Shrink Ratio
The shrink ratio is printed as two numbers separated by a colon, and it tells you exactly how much size range one sleeve can cover.
What does 2:1 mean?
A 2:1 shrink ratio means the sleeve’s expanded diameter is twice its recovered diameter. A sleeve with an expanded diameter of 6mm will recover to approximately 3mm once fully shrunk. This is the most common ratio for general-purpose electrical heat shrink sleeve applications — cable joints, wire bundling, connector insulation, and most low-to-medium voltage work.
What does 3:1 mean?
A 3:1 shrink ratio means the sleeve shrinks to one-third of its expanded diameter. A sleeve supplied at 9mm expanded would recover to roughly 3mm. This higher ratio is used where the item being covered has irregular, stepped, or highly variable geometry — a connector body transitioning into a much thinner cable, for instance — because the sleeve needs to grip a wide range of diameters within a single continuous piece without leaving gaps.
Why the ratio matters more than the diameter alone.
Two sleeves can both be marked “6mm” and behave completely differently on the same job, because one might be a 2:1 ratio sleeve and the other a 3:1. The 3:1 sleeve will cover a wider range of final diameters from the same starting size, but it typically needs a higher shrink temperature and longer dwell time to fully recover, since there’s more material to move. Choosing based on diameter alone, without checking the ratio, is one of the most common — and most avoidable — heat shrink tubing supplier complaints.
How Much Clearance Should You Allow?
How much should heat shrink shrink, in practice? Enough to leave meaningful grip margin — not just enough to technically cover the joint.
A sleeve sized exactly to the joint’s diameter, with zero margin, is a mistake in either direction. Too little expanded-diameter clearance and the sleeve won’t slide over connectors or tape build-up. Too little recovered-diameter margin and the sleeve barely grips, leaving a weak mechanical and environmental seal.
A practical clearance rule that holds up across most jobs:
- Choose an expanded diameter 20-30% larger than the widest point of the item to allow easy installation over connectors, lugs, and splice build-up.
- Choose a sleeve whose recovered diameter is at least 10-15% smaller than the narrowest surface it needs to seal, so it fully grips with margin to spare rather than settling right at the boundary.
- For heat shrink sleeve for electrical insulation over irregular joints, err toward the larger expanded diameter within the sleeve’s rated range rather than the smallest one that technically fits — a slightly loose fit before shrinking still recovers tight, but an overly tight fit before shrinking can crack or thin unevenly.
This clearance margin is also why the length of the sleeve matters as much as diameter. A sleeve cut too short to overlap 15-20mm onto sound cable insulation on either side of the joint leaves the joint’s weakest point — the transition edge — without the same sealing pressure as the middle.
Heat Shrink Sleeve Size Selection Examples
Working through real numbers makes the selection logic concrete. These examples use standard 2:1 ratio electrical heat shrink sleeve products, the kind stocked across Thunderbolt’s WOER range.
Example 1 — Insulating a single-core 4 sq mm cable joint.
A 4 sq mm copper cable typically measures around 3.5-4mm across the insulation. At the splice point, with solder and tape build-up, the joint diameter often reaches 5-6mm. A WOER 6mm heat shrink sleeve, with an expanded diameter around 6mm and a recovered diameter near 3mm on a 2:1 ratio, comfortably slides over the 5-6mm joint and shrinks down tight against the surrounding 3.5-4mm cable insulation — satisfying both the expanded-diameter and recovered-diameter conditions.
Example 2 — Bundling three 2.5 sq mm wires at a junction box.
Three wires bundled together can easily reach a combined diameter of 8-9mm at the point they’re taped or clipped. A 10mm sleeve, sized with enough expanded clearance to slide over the bundle and clip, and enough shrink to grip the tapered transition down to individual wire diameter, handles this better than trying to force a 6mm sleeve over three conductors.
Example 3 — A larger power cable termination at 20mm+.
Where a cable lug or termination point reaches 18-20mm across, jumping to a WOER 20mm heat shrink sleeve provides the expanded clearance needed to slip over the lug barrel while still recovering tight enough — roughly 10mm on a 2:1 ratio — to seal firmly against the cable body beyond the termination.
Example 4 — A stepped joint with a connector body transitioning to thin cable.
Where diameter changes sharply within a few centimetres — a connector body at 12mm tapering to 5mm cable — a single 2:1 sleeve often can’t cover both ends with adequate margin. This is where a 3:1 ratio sleeve, or a dual-wall adhesive-lined sleeve with greater flexibility, becomes the better choice, since it can recover across a wider effective range without splitting at the wider end.
Common Sizing Mistakes
Mistake 1 — Buying by diameter alone, ignoring the ratio.
As covered above, two sleeves at the same expanded diameter but different ratios recover to very different final sizes. Always check both numbers on the datasheet, not just the one printed largest on the packaging.
Mistake 2 — Measuring the cable, not the joint.
The plain cable is almost never the widest point. Sizing based on cable diameter alone, without accounting for the crimp, solder joint, or connector at the splice, produces a sleeve that won’t slide over the actual obstruction.
Mistake 3 — Cutting the sleeve too short.
A sleeve that barely covers the joint, with no overlap onto sound insulation, leaves the transition edges as the weakest point in the whole assembly — exactly where moisture ingress typically starts.
Mistake 4 — Under-heating a 3:1 ratio sleeve because it “looks shrunk.”
Higher-ratio sleeves need more heat and longer dwell time to fully recover through their entire range. A sleeve that looks visually shrunk at the surface may still have unrecovered material underneath if the heat source was moved too quickly.
Mistake 5 — Ignoring operating temperature range for the application.
Heat shrink sleeve price shouldn’t be the only factor driving selection — WOER’s industrial-grade range is rated for continuous operating temperatures between 55°C and 125°C (Source: WOER Heat Shrink Sleeve 6mm technical datasheet — Direct source found), which matters for joints near motors, transformers, or outdoor installations exposed to direct sun in Delhi’s summer heat.
Mistake 6 — Assuming all heat shrink tubing meets the same dielectric standard.
Not every sleeve sold as “heat shrink tubing” is tested to the same electrical insulation standard. WOER’s industrial-grade sleeves are tested under ASTM D2671, the recognised standard for heat-shrinkable tubing used in electrical insulation (Source: ASTM International, ASTM D2671 — Direct source found), with a dielectric strength rated at 15kV/mm on the 6mm product. Unbranded or untested stock rarely carries this documentation, which matters for anyone buying heat shrink sleeve for electrical insulation on safety-critical circuits.
Heat Shrink Sleeve Size Buying Checklist
Before placing an order, run through this list — it takes less time than a single mis-sized installation costs to fix.
- [ ] Measured the widest point of the joint, connector, or bundle — not the plain cable
- [ ] Confirmed both expanded diameter and recovered diameter against the datasheet, not just one number
- [ ] Checked the shrink ratio — 2:1 for standard joints, 3:1 for stepped or highly variable geometry
- [ ] Allowed 20-30% expanded-diameter clearance for easy installation over connectors and tape build-up
- [ ] Confirmed recovered diameter sits comfortably below the narrowest surface to be sealed
- [ ] Selected sleeve length with 15-20mm overlap onto sound cable insulation on both sides of the joint
- [ ] Verified operating temperature rating matches the installation environment
- [ ] Checked dielectric strength and ASTM D2671 compliance for electrical insulation applications
- [ ] Confirmed roll length and colour match the site’s cable identification scheme
- [ ] Sourced from a heat shrink sleeve supplier who can produce a technical datasheet, not just a price list
Heat Shrink Sleeve Sizes Compared: Diameter, Ratio and Application
| Sleeve Size (Expanded) | Approx. Recovered Diameter (2:1) | Typical Application | Best Fit For |
| 6mm | ~3mm | Single-core joints, 2.5-4 sq mm cables | Control wiring, small splices |
| 10mm | ~5mm | Bundled conductors, junction box wiring | Multi-wire bundles, small connectors |
| 20mm | ~10mm | Power cable terminations, lugs | Medium cable joints, connector bodies |
| 35mm | ~17.5mm | Large power cables, cable-to-busbar transitions | Heavy industrial terminations |
This table reflects standard 2:1 ratio industrial-grade sleeves; 3:1 ratio products recover to roughly one-third of the expanded figure and suit stepped or irregular joints better than the standard range above.
Customer Problems Our Heat Shrink Sleeve Supplier Team Solves Every Week
Problem: “We ordered 10mm sleeves, but they won’t shrink tight enough on our cable.”
This almost always traces back to confusing expanded diameter with recovered diameter — the cable was measured against the 10mm figure without checking that the recovered diameter (roughly 5mm on a 2:1 ratio) was actually smaller than the cable itself. Re-measuring the joint and cross-checking against the datasheet, rather than the number printed largest on the pack, resolves this in almost every case.
Problem: “The sleeve split while we were shrinking it.”
Splitting usually points to one of two causes: the sleeve was too tight going on (expanded diameter too close to the joint’s widest point, causing over-stretching during installation) or the heat was applied unevenly, with one section overheating before the rest recovered. Sizing up slightly on expanded diameter, and using a proper heat gun rather than an open flame, fixes both.
Problem: “We can’t get consistent quality from our current heat shrink tubing supplier.”
This is one of the most common calls a genuine heat shrink sleeve supplier in India receives — inconsistent batches, missing datasheets, no ASTM D2671 test documentation. Switching to a supplier who stocks a documented, branded range like WOER, with published dielectric strength and shrink ratio figures, removes the guesswork from every order.
Problem: “Our heat shrink sleeve price keeps changing between orders with no explanation.”
Price volatility often comes down to buying from resellers with no direct import or stocking relationship, who mark up based on spot availability. A supplier holding regular stock of standard sizes — 6mm through 35mm and beyond — usually offers more stable heat shrink tube price across repeat orders than one sourcing per order.
Real Use Cases
Use case 1 — A Delhi-based panel fabrication workshop.
A control panel manufacturer supplying LT panels across NCR was seeing occasional field complaints about moisture ingress at cable gland entries, months after commissioning. On review, the workshop had been using a single 8mm heat shrink sleeve across almost every joint, regardless of actual cable diameter, to simplify inventory. Switching to a proper size range — 6mm, 10mm, and 20mm stocked separately, matched against actual measured joint diameters — eliminated the moisture-related complaints across the following two commissioning batches.
Use case 2 — A cable jointing contractor working on LT feeder repairs.
A contracting crew repairing damaged LT feeder cables in the field had been carrying only one shrink ratio of sleeve, sized for straight cable-to-cable joints. When repairs involved stepped joints — a repair sleeve transitioning into a smaller original cable diameter — the standard 2:1 sleeves left visible gaps at the narrow end. Carrying a small stock of 3:1 ratio sleeves alongside the standard range let the crew handle both straight and stepped joints from the same field kit, without carrying a dozen intermediate sizes.
Use case 3 — An industrial maintenance team standardising cable joint procedures.
A manufacturing plant running frequent internal cabling changes had no written sizing reference — technicians picked sleeve sizes by habit, which varied person to person. Introducing a simple sizing checklist, along with a stocked range from a single heat shrink sleeve supplier Delhi teams could reach same-day, reduced repeat joint failures reported during the plant’s quarterly electrical inspection. The same inspection, notably, also flagged outdated Danger Plate signage near the panel room — a reminder that heat shrink sleeve sizing and broader electrical panel safety compliance tend to surface together during the same audit, and are often ordered from the same supplier in a single visit.
Why Buy From a Delhi-Based Heat Shrink Sleeve Supplier
Sourcing heat shrink sleeves locally in Delhi solves a problem that a distant, out-of-state supplier can’t: turnaround time on urgent repairs. A cable fault at 9pm on a factory floor doesn’t wait for a courier from another city. Working with a heat shrink sleeve supplier Delhi teams can reach directly — for same-day pickup or next-morning delivery — keeps repair windows short and avoids the temptation to substitute an oversized or undersized sleeve just because it’s the only one on the shelf.
There’s also a technical advantage to buying from a heat shrink sleeve dealer Delhi engineers already trust for other cable accessories. Heat shrink sleeves rarely get used in isolation — they’re paired with cable lugs, cable glands, and often insulating tape at the same joint. A supplier who understands how these products interact, rather than one who sells shrink tubing as an unrelated commodity line, tends to flag sizing mismatches — like a lug barrel too wide for the sleeve someone’s about to order — before they become a failed joint in the field.
How to Choose the Right Heat Shrink Sleeve Supplier in India
A few checks separate a genuine heat shrink sleeve supplier India buyers can rely on from a reseller moving unbranded stock:
- Do they publish expanded and recovered diameter for every size, not just one figure? A supplier who can’t produce both numbers is asking you to guess.
- Is the range tested to ASTM D2671, with dielectric strength documented? This matters directly for anyone buying heat shrink sleeve for electrical insulation on live circuits, not just mechanical bundling.
- Do they stock a genuine size range — 6mm through 35mm and above — or only two or three sizes? A limited range pushes buyers toward the “one size fits most” mistake described earlier in this guide.
- Can they explain the difference between a 2:1 and 3:1 ratio sleeve without hesitation? This single question filters out suppliers reselling shrink tubing as a generic commodity from those who understand it as an engineered product.
- Do they offer stable heat shrink sleeve price and heat shrink tube price across repeat orders, or does every order come back with a different rate depending on the day?
Thunderbolt Electromech: Your Trusted Heat Shrink Sleeve Supplier for WOER Products
Thunderbolt Electromech India Pvt. Ltd. is a Delhi-based heat shrink sleeve supplier stocking the complete WOER range — industrial-grade WOER Heat Shrink Sleeve from 6mm through 35mm and beyond, each backed by a published datasheet covering expanded diameter, radial shrink ratio, dielectric strength, and ASTM D2671 test compliance.
The WOER range stocked includes:
- 6mm Heat Shrink Sleeve — for single-core joints and small splices, ≥50% radial shrink ratio, 15kV/mm dielectric strength
- 10mm Heat Shrink Sleeve — for bundled conductors and junction box wiring
- 20mm Heat Shrink Sleeve — for power cable terminations and connector bodies
- 35mm Heat Shrink Sleeve — for heavy industrial cable-to-busbar transitions
- Operating temperature range of 55°C to 125°C across the industrial-grade line, suited to Delhi’s seasonal temperature swings
Because cable jointing rarely involves heat shrink sleeves alone, Thunderbolt also supplies the accessories most often ordered alongside them — cable glands, cable lugs, silica gel breathers for transformer moisture protection, and IS 2551-compliant Danger Plates for panel and substation signage — from the same Delhi warehouse, on the same invoice.
Visit or contact Thunderbolt Electromech India Pvt. Ltd.: 📍 Shop no. 3538, Sitaram Bazar Rd, Bazar Sirkiwalan, Chawri Bazar, Chandni Chowk, Delhi, 110006 📞 +91-9911886655 ✉️ info@thunderboltelectromech.com
Frequently Asked Questions
What size heat shrink sleeve do I need?
Measure the widest point of the joint or connector, then choose a sleeve whose expanded diameter is 20-30% larger than that measurement, and whose recovered diameter (found on the datasheet, not the pack label alone) is smaller than the narrowest surface you need to seal.
How is heat shrink size measured?
Heat shrink sleeves are measured by two diameters — expanded (as-supplied) and recovered (fully shrunk) — using vernier calipers at the widest cross-section of the application, typically the splice or connector rather than the plain cable.
What does 2:1 mean?
A 2:1 shrink ratio means the sleeve shrinks to half its expanded diameter once fully heated — a 6mm sleeve recovers to approximately 3mm.
What does 3:1 mean?
A 3:1 shrink ratio means the sleeve shrinks to one-third of its expanded diameter, giving it a wider effective size range — useful for stepped joints where diameter changes sharply along the sleeve’s length.
How much should heat shrink shrink?
Enough that the recovered diameter sits 10-15% below the diameter of the surface being sealed, giving genuine grip rather than a sleeve that barely touches the joint once cooled.
How do I calculate the required diameter?
Add 20-30% clearance to the widest measured point of the joint for the expanded diameter, then check the same product’s recovered diameter — usually half the expanded figure on a 2:1 ratio, or a third on 3:1 — against the narrowest surface you need to seal.
Conclusion
Heat shrink sleeve sizing comes down to two numbers most buyers only half-read: expanded diameter and recovered diameter, tied together by a ratio printed in small type on the datasheet. Get both numbers right, measure the actual joint rather than the plain cable, and allow real clearance in both directions, and a heat shrink sleeve does exactly what it’s meant to — grip tight, seal fully, and stay that way for years rather than months. Thunderbolt Electromech India Pvt. Ltd. stocks the complete WOER heat shrink sleeve range in Delhi, with published datasheets for every size, so plants and contractors across NCR can size correctly the first time instead of guessing off a shelf. Call +91-9911886655 or write to info@thunderboltelectromech.com for size-specific stock availability and technical datasheets.

[…] position over time; one too tight risks splitting during installation. Thunderbolt’s guide on heat shrink sleeve sizing covers the expanded-versus-recovered diameter calculation this depends […]
[…] you’re still deciding on diameter or shrink ratio before temperature, our heat shrink sleeve size guide on choosing the right diameter and shrink ratio covers that groundwork first. This article picks up where that one leaves […]
[…] 2. Shrink ratio mismatch with actual conductor OD. If the expanded ID of the sleeve is too close to the cable OD, or too far from it, the sleeve either can’t seat fully (leaving air gaps that trap moisture) or over-stretches and thins at the shoulder, creating a stress-concentration point exactly where cracking later starts. This is the single most common root cause we log, and it’s entirely preventable with correct sizing — something we cover in detail in our heat shrink sleeve size guide on choosing the right diameter and shrink ratio. […]